Creating an email template in Outlook saves me the tedium of manually entering text for sending similar types of emails related to story pitches, and follow-up messages. That way, rather than creating the email from scratch, I can start with my template that covers the core message and personalize it for the intended recipient. Though it might appear like a tough job, creating and using these templates is very simple.
How to create an email template in Outlook?
Templates in Outlook are pre-created email drafts that you can create and save within any version of Outlook (except the mobile app). These drafts can then be sent with a more elaborate message to potential clients when they reach out to you.
You can only create the body copy. The rest of the info, including the name of the recipient/s, attachments, and subject line needs to be manually added after you’ve customized the template.
With that in mind, let’s find out how to create an email template in Outlook.
Step 1: Create an email template
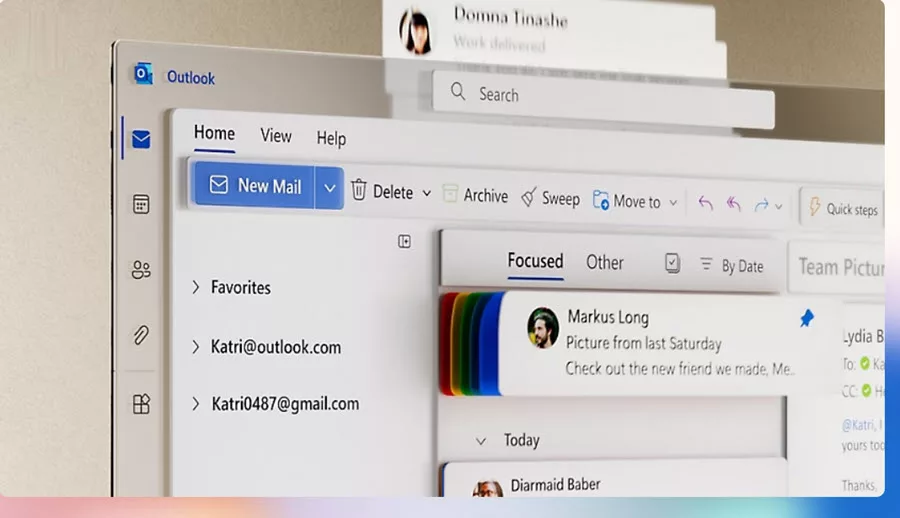
To create a template in Outlook, compose a new email message. Then, navigate to the “Home” tab and select “New Email.” Fill in the subject line and include the text or elements you want in the template. As you can see, I am seeking approval for the story I wish to explore. So, I must mention the kind of central chronology I will reconstruct. What scenes I am going to describe, making sure it’s going to be a satisfying one.

Next, go to the “File” menu and choose “Save As.” Give your template a name, and from the “Save as type” dropdown, select “Outlook Template (*.oft).” Finally, click “Save” to store your template for future use. Select “Save” and close the original email.

Step2: Compose an Email Using Outlook email template
Navigate to the “Home” tab, then select “New Items”. From its drop-down menu, choose the “More Items” entry to expand its menu and then, select the “Choose Form” option.

In the “Choose Form” dialog box, select the “Look in” dropdown arrow, then select “User Templates in File System”.

Step3: Personalize your message before sending
To use a template in Outlook, locate the desired template. Switch back to the Home tab in Outlook. Click on the dropdown arrow next to the New Items button.
Select More Items from the dropdown menu > Choose Form.
In the Choose Form dialog box, go to the Look in drop-down menu and select User Templates in File System. Locate and select the custom template you created earlier. You can now use this template to streamline your email creation process.

Enter the recipient’s address and hit the Send button to dispatch your message.
Following the template creation, I would then be able to access the template each time I write a new mail with similar lines. So, if you ever feel like you’re stuck hitting reply on the same story pitch or follow-up message, create a template to say goodbye to repetitive emails and hello to a more streamlined workflow!”
Also learn: How to schedule an email in Outlook.