In today’s organizational setups, accessing centralized data is crucial for efficient operations. While sharing permissions work for small teams, they can be limiting as groups grow larger, making it challenging to stay aligned. A smarter solution? Deploying a centralized file system, empowering everyone to access and edit files concurrently. This fosters seamless collaboration, eliminating the headache of version conflicts. In this system, all data is housed in one place, granting authorized users instant access without the hassle of downloading copies. Edits sync in real-time, streamlining workflows and boosting productivity. When discussing centralized file systems, one notable solution that comes to my mind is Amazon Elastic File System (EFS) provided by AWS (Amazon Web Services).
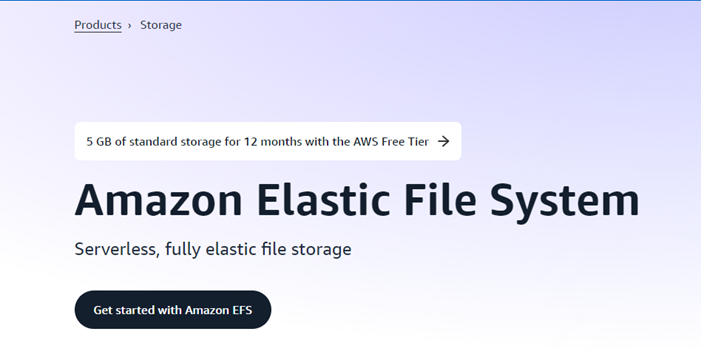
Amazon Elastic File System or EFS is just like a filing cabinet that keeps your documents organized and readily available. It allows organizations to set up a scalable, fully managed file storage system in the cloud. It supports concurrent access from multiple Amazon EC2 instances and on-premises servers. So, it doesn’t matter whether the apps are cloud-bound or chilling on-premises, you can create and configure file systems as desired. More importantly, files come and go; EFS shrinks and grows, enabling teams to collaborate seamlessly without worrying about file synchronization or data consistency. In short, what you experience with this setup is no more headaches about deploying, patching, or setting up complex file system.
We’ll delve into AWS Elastic File System (EFS) as an example of such a centralized solution.
AWS EFS features
Fully Managed: Amazon EFS provides fully managed network file sharing (NFS) storage for Linux workloads, simplifying setup and management. With EFS, there’s no need to maintain file servers, update hardware, configure software, or fret over backups.
Availability & Durability: Amazon EFS offers two types of file systems tailored to different needs for durability and availability. This includes Regional File Systems that store your data across multiple Availability Zones (think of them as data centers within a region). So, even if one zone goes down, your files are safe and accessible – just like having a backup built right in! No more worrying about losing important files due to an outage.
The second is One Zone File Systems. Think of it as a more cost-effective option for less critical data. It stores your information within a single Availability Zone, a great choice for development environments or temporary data. Although good, keep in mind that this solution is susceptible to disruptions if something happens to that specific zone Having said that, no matter which option you pick, Amazon EFS goes the extra mile for data durability. It boasts a whopping 99.999999999% (that’s eleven nines!) of data durability, practically guaranteeing your information is safe and sound. So relax, and focus on what matters most – your data is in good hands!
Fully Elastic: By default, Amazon EFS file system storage and throughput capacity are elastic, meaning they automatically adjust to match your workload’s demands, whether they’re growing or shrinking.
EFS Replication: Amazon EFS Replication duplicates your file system data to another file system within your preferred AWS Region. This ensures that your data is securely backed up and readily accessible, providing added protection against potential data loss or system failures.
How to launch Amazon Elastic File System (EFS) ?
Let’s do hands-on, to launch EFS we will perform the following steps,
- Create Test VPC
- Launch EC2 instance.
- Create EFS
- Mount EFS on EC2 instance.
Let’s cover the process in a bit more detail!
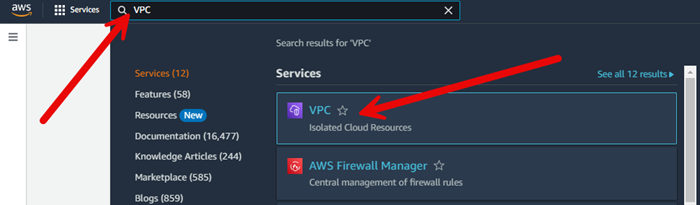
1] Create Test VPC
Log in to your AWS Account and launch the management console. In the search bar type VPC.
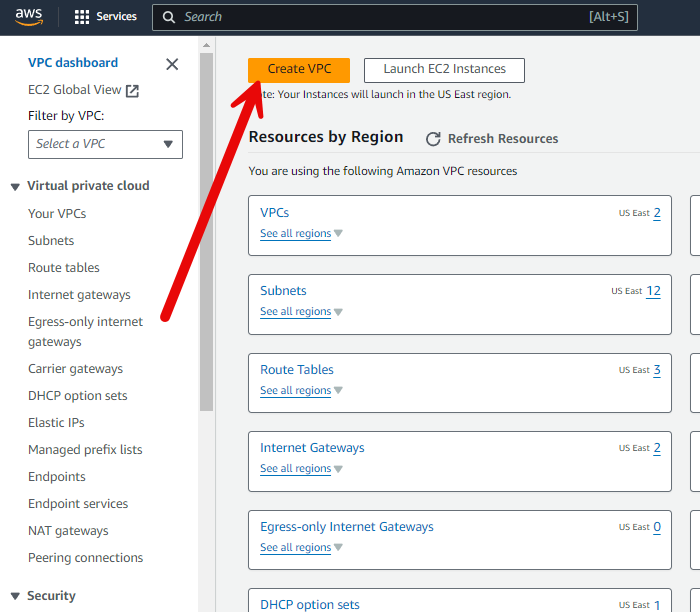
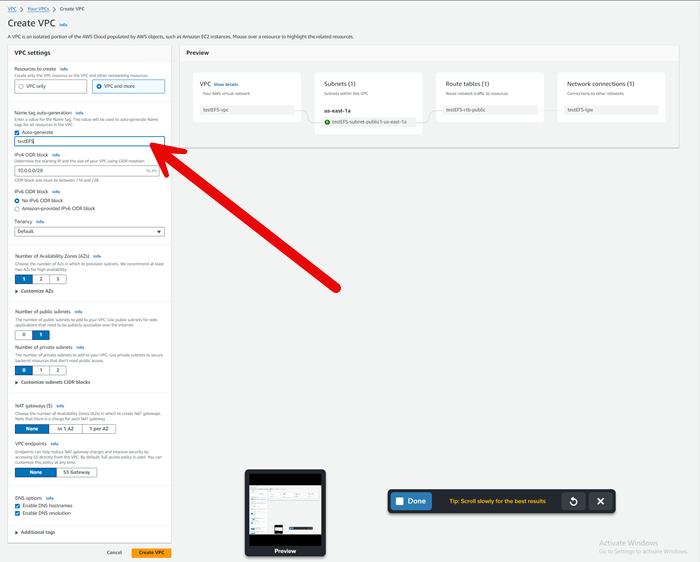
Navigate to the VPC page as shown below and click the Create VPC Button.
Then fill in details like name, subnets, public or private, CIDR Range, then click the Create VPC button.
Your VPC will be created in a few seconds.
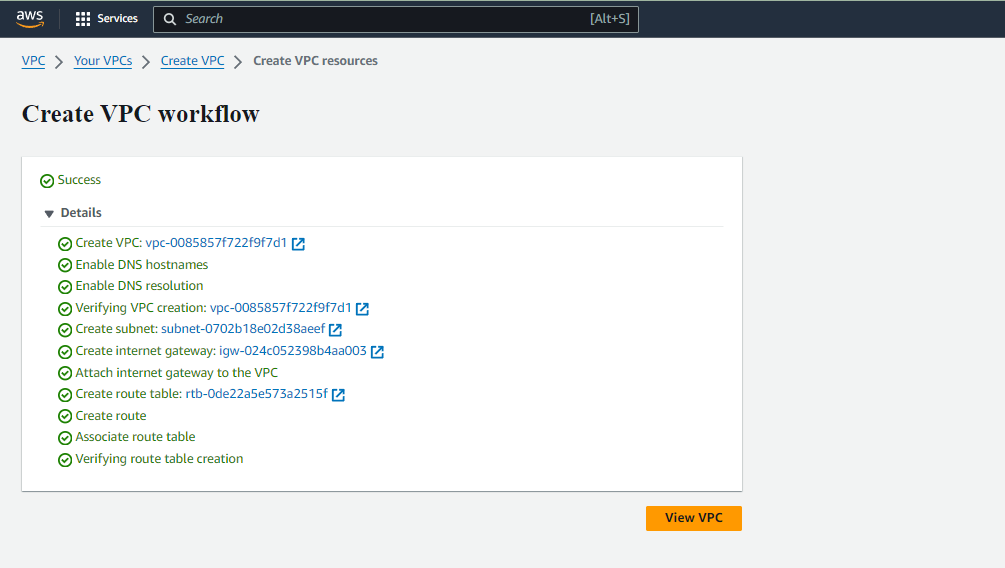
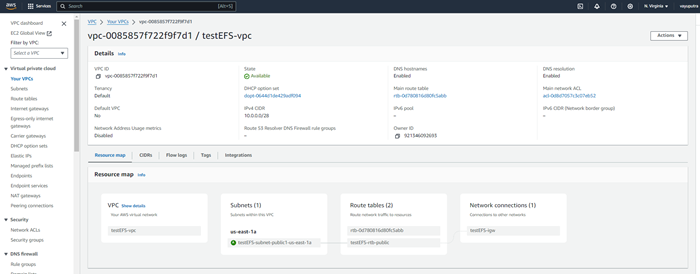
Click the View VPC button to view your testEFS VPC created as,
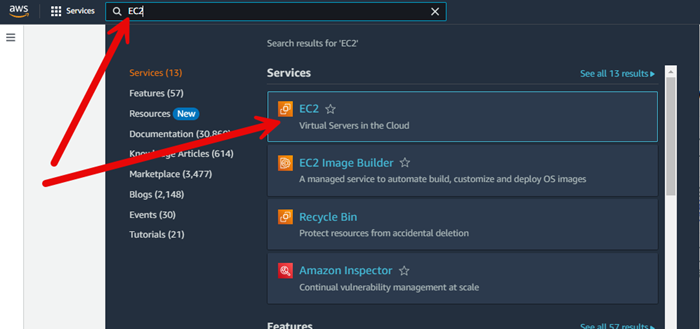
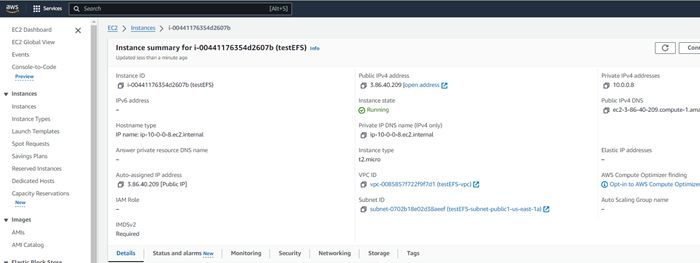
2] Launch EC2 Instance
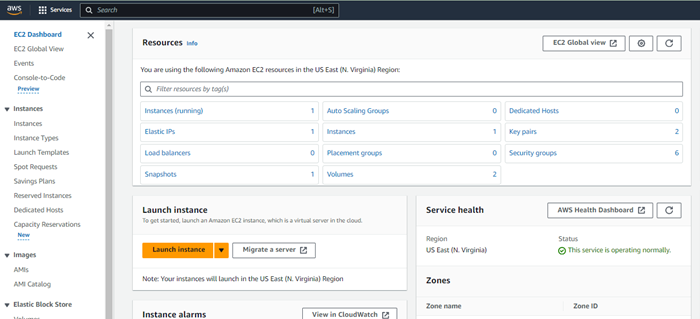
in the search box type EC2 to ope the EC2 dashboard page.
you will be navigated to EC2 dashboard as below.
Click the Launch Instance button and fill in the details.
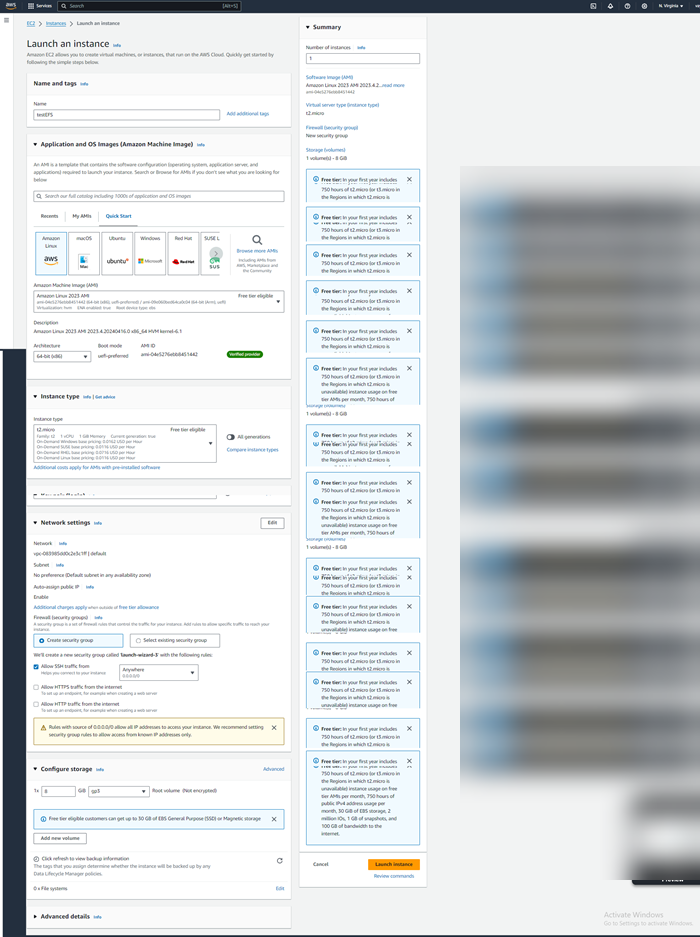
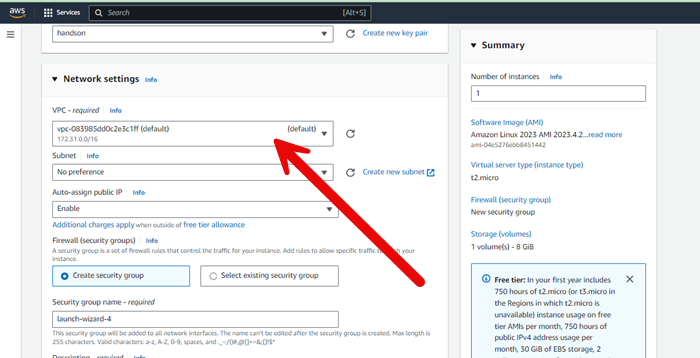
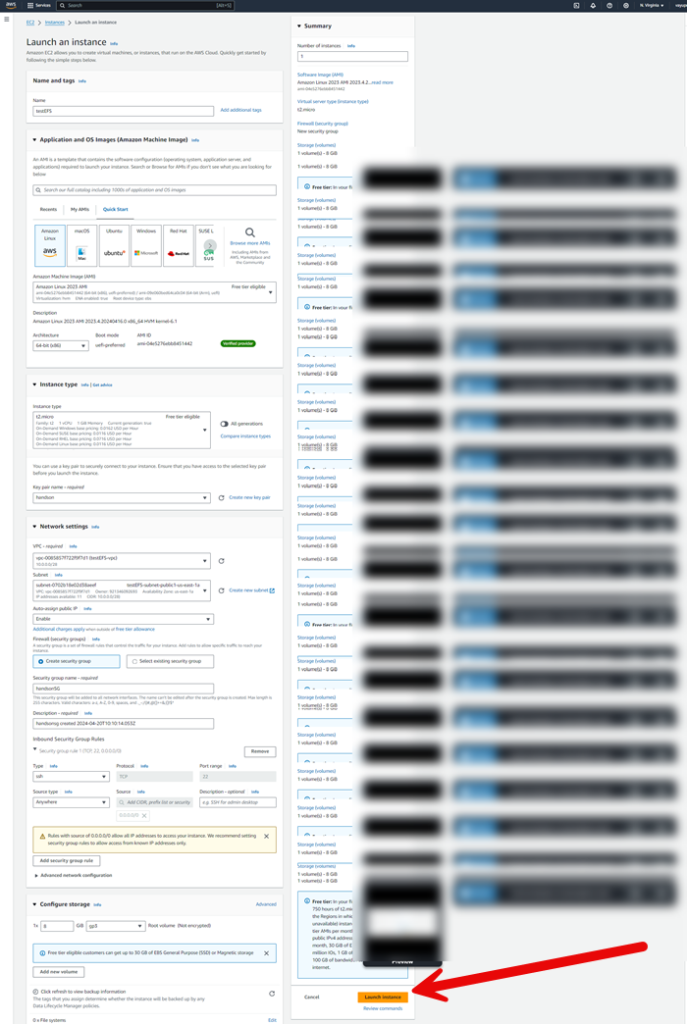
Select your test EFS VPC in the network section
Finally, click on the Launch Instance button.
Within a few seconds your EC2 Linux machine would be launched.
3] Create EFS
In the search bar type EFS and hit Enter.
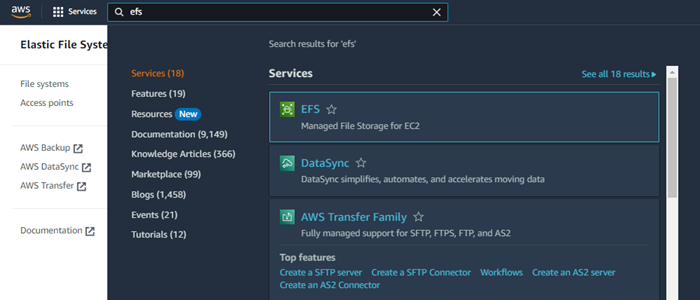
You will be navigated to the EFS page as,
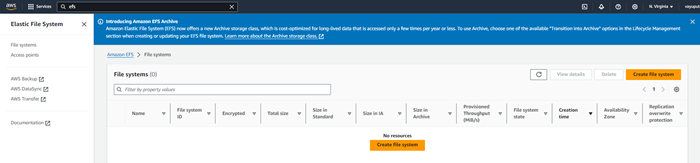
Click on the Create file system button, give your name, and select your VPC
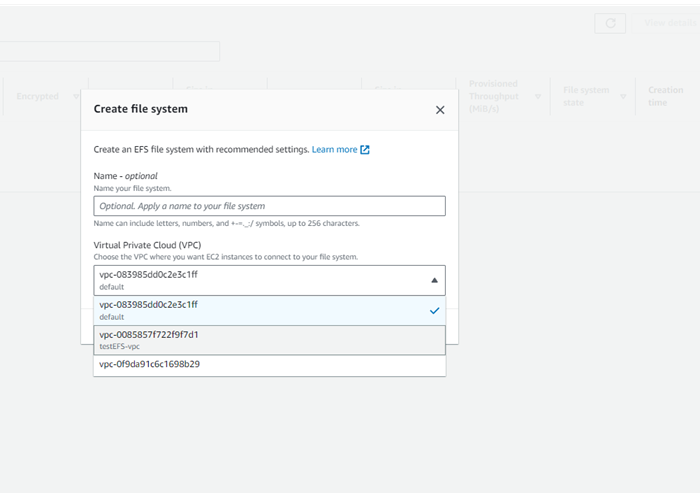
Click Create file system to launch your AWS EFS

Step 4: Mount EFS on EC2 instance.
To achieve this first connect your EC2 Instance

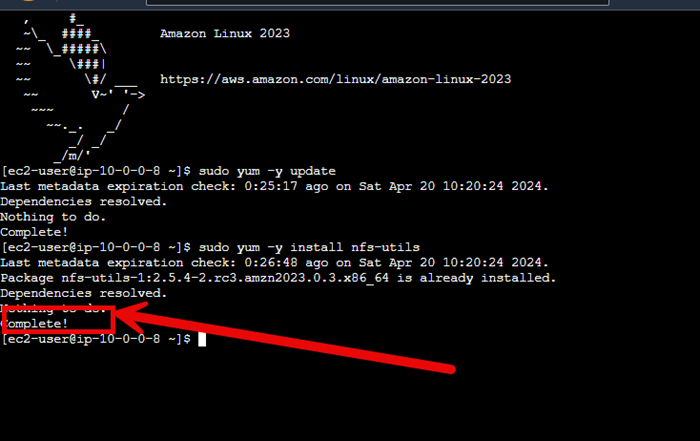
Update EC2 Instance as,

Then install NFS utills

Package installed.
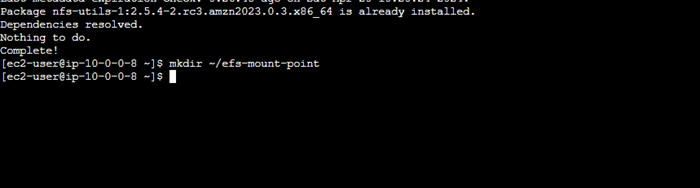
Make a directory in the EC2 efs-mount-point
Now mount the EFS in the folder via IP option
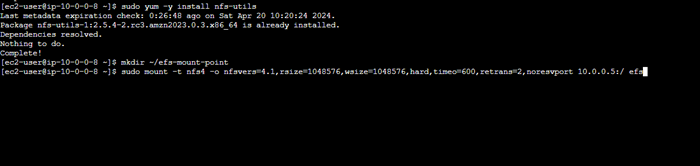
EFS mounted successfully.

Hit the command ls -al and you can access the EFS system.