In the last article, we shared the GCP limitation of getting errors while uploading a .iso image to create a custom VM. The question is how can we convert a .iso image to a tar.gz image in GCP and spin a custom VM that I need to use for making a golden image?
We will address that question in this article step by step, to accomplish our objective we would require gsutil, existing running virtual machine in your project.
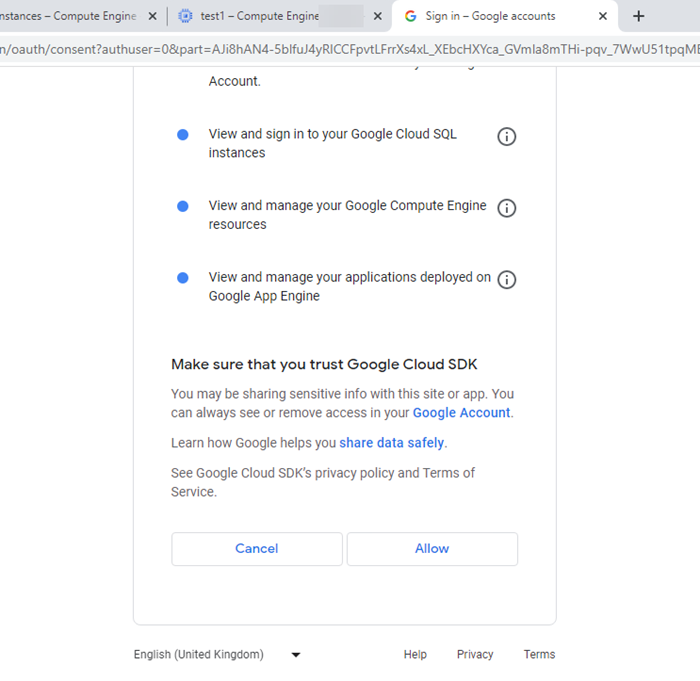
- Sign in your Google Cloud SDK account, click allow to grant access.
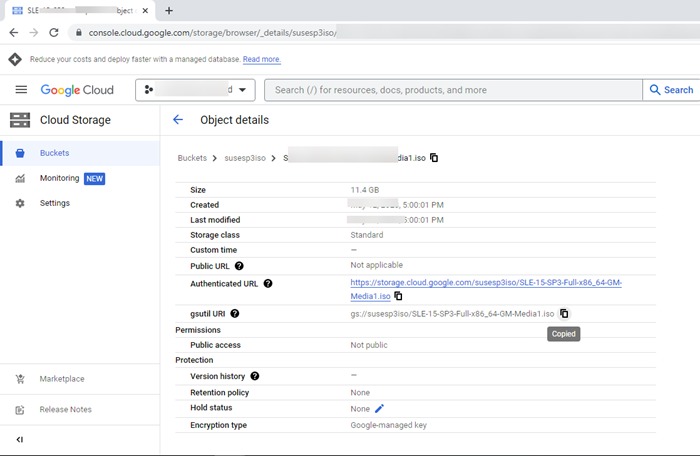
- Now with help of gsutil, access your storage bucket where you have uploaded the .iso image. Then, copy gsutil URI.
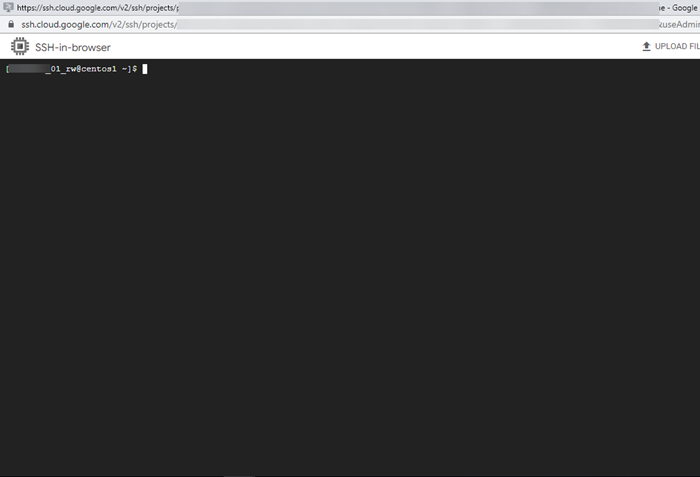
- Navigate to compute engine page and choose a running instance to SSH into it.
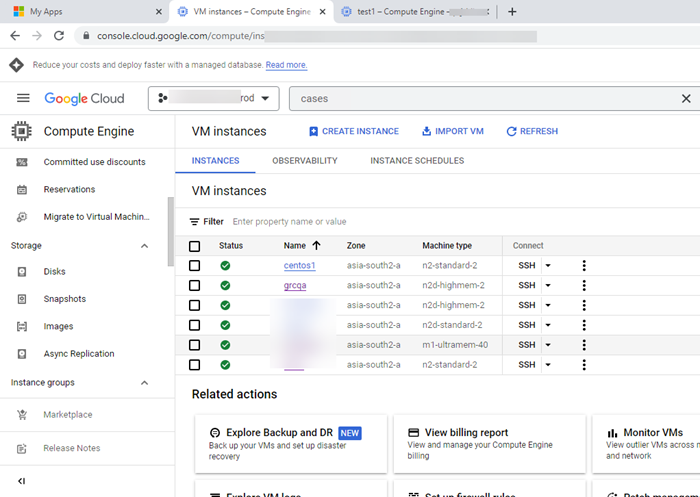
- Here we have chosen centos1.
- Run command gcloud auth login, enter Y and further link would be shared. Copy the link and keep it handy.
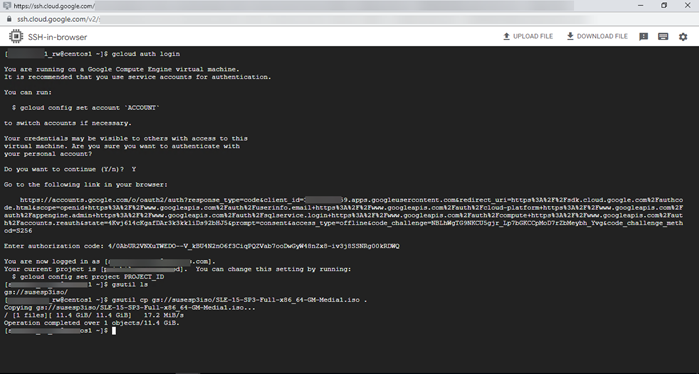
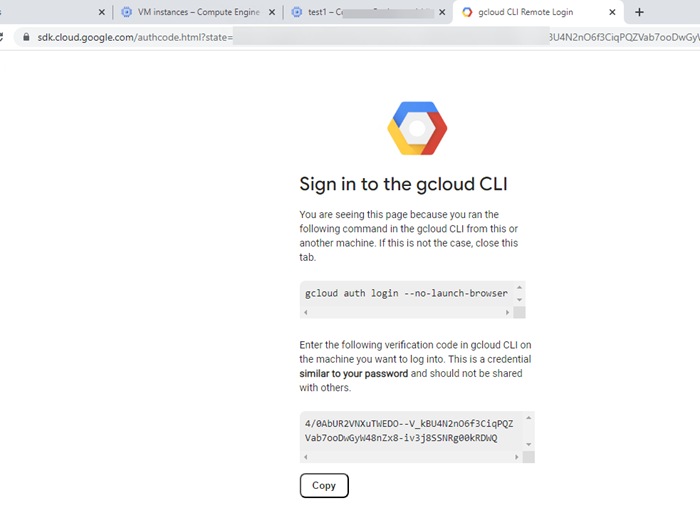
- Now, sign in Google Cloud CLI and authenticate with help of Authenticated URL as seen above.
- Your account and bucket would be authenticated, this is required to access the storage bucket using CLI in the running instance.
- Once authenticated yu would be able to locate your .iso file by running command gstuil ls, copy the file.
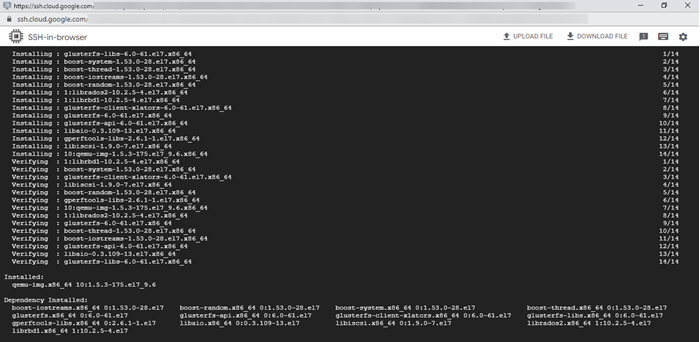
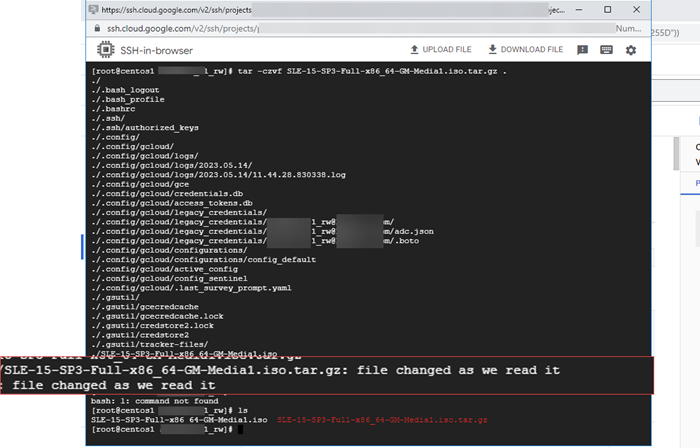
- Now run command tar -cvzf disk.raw.tar.gz, post which all the libraries would be installed to convert the .iso image to .tar.gz.

- New file would be saved and you can check it by running command ls. This new file is tar.gz.
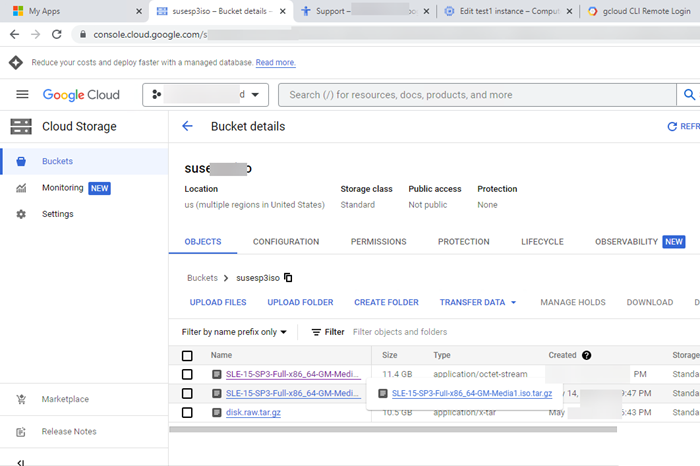
- You can also check the same in the storage bucket.
- You have successfully converted .iso file to tar.gz format, that can be uploaded and used in GCP for creating custom VM without any error.
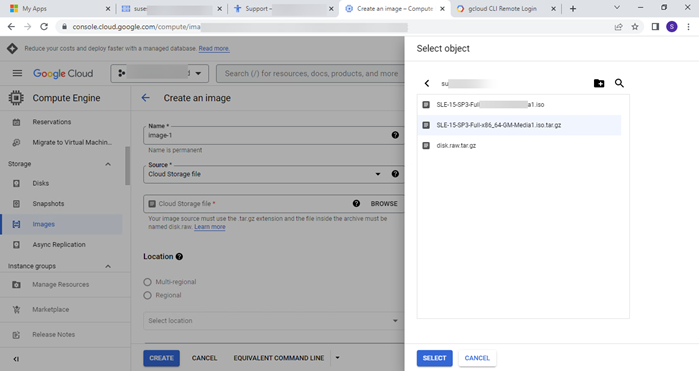
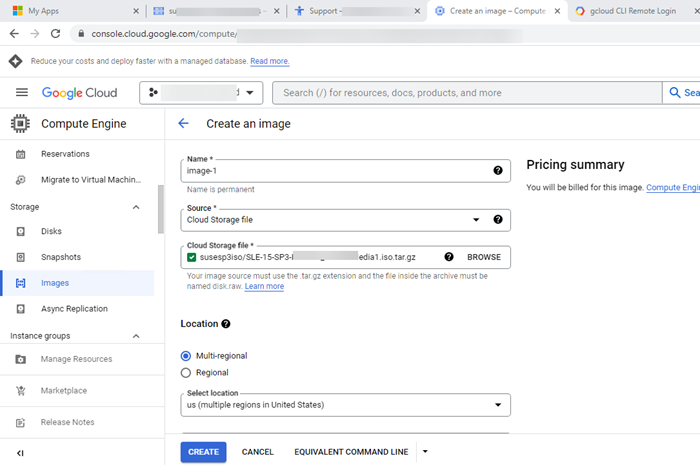
- Navigate to the compute engine page and start creating a VM using the custom image option. And choose your converted tar.gz file.
- The green tick mark ensures that GCP will accept your converted tar.gz file and spin a new custom VM using it.
At last click create your custom VM in GCP. Hope this will help you and achieve your objective.