An elastic load balancer in AWS automatically distributes your incoming traffic across multiple targets. These targets can be EC2 instances, containers, and IPs in one or more availability zones. Primarily, it checks the health of the targets and then routes the traffic to a healthy instance. That way it helps in maintaining steady traffic and availability of your instances. Also, it helps to improve latency, depending on the type of routing you have selected while creating the load balancer.
There are 3 types of load balancers offered by AWS namely,
- Classic Load balancer
- Application Load balancer
- Network Load Balancer.
Among these, the Classic Load Balancer has been done away with and people still using it need to either migrate to the Application Load Balancer or the Network Load Balancer.
If your traffic comes in big numbers (thousand requests per second) then, Application Load Balancer will be the right choice for you. However, if it exceeds even more say, a million requests per second then, a Network Load Balancer is the way to go. The Network Load Balancer is a layer 4 balancer in the OSI model, while the Application load balancer is layer 7 in the OSI model.
In this post, we’ll walk you through the process on how to migrate from Classic Load Balancer to Application Load Balancer.
Migrating from Classic Load Balancer to Application Load Balancer in AWS
Create three EC2 instances as shown in the image below.

Now SSH into each instance created and add the HTML file with the following heading in the body of the code. Hit the Save button and then exit.
Now copy the public IP of the first instance and hit in the browser, you will be directed to the following Page.

Similarly copy the Public IP of the second instance, open a new tab and paste the address in it. Hit the Enter key. You will be go to a new page.
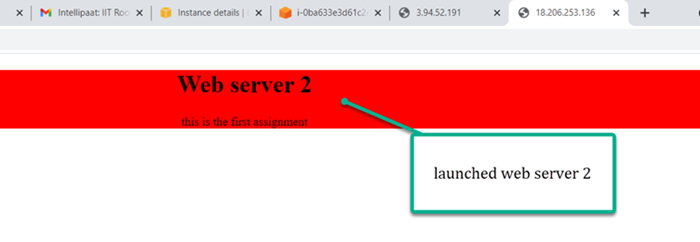
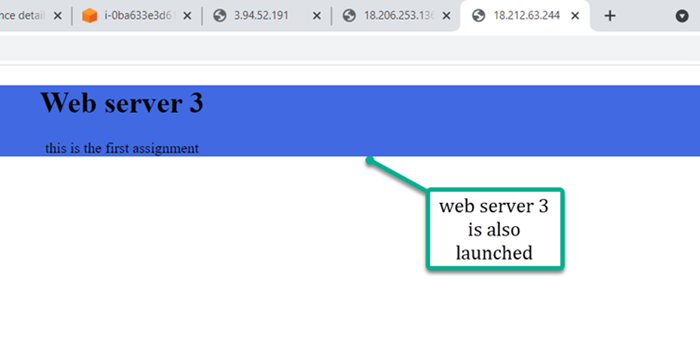
And the third Instance page will be visible as shown in the image below.
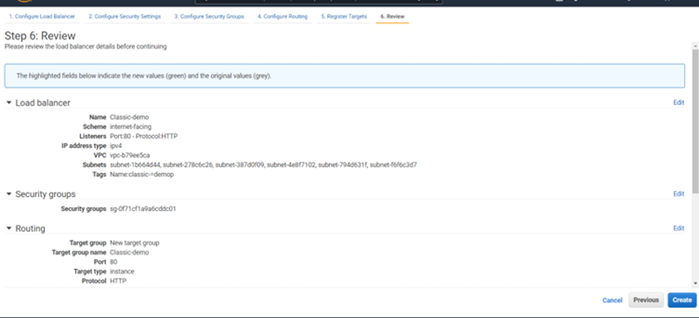
Now create a Classic Load Balancer by filling up the details in all the tabs, reviewing, and clicking the Create button. Your load balancer will be ready.
Check the instances as the target group.
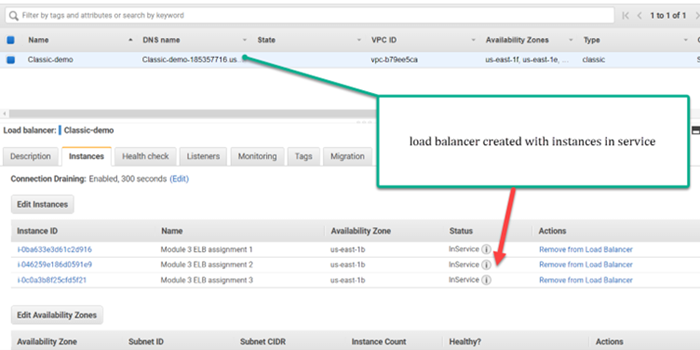
Your classic load balancer will have a public URL as shown below.
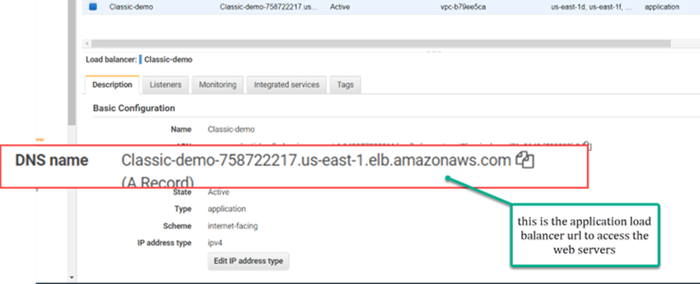
Now copy and hit the URL of the load balancer in your browser and on every occasion you will move to a different web server.

Hit again to go to the second instance of the web server.

Hit Again to go to the third instance of the server.

This indicates that your classic load balancer is ready and routing the traffic using the Round Robin algorithm. Thus load balancers not only help in distributing your traffic and maintaining the load on the servers but also hide your web server IP addresses from being exposed.
We now come to the second part of our exercise where we need to migrate from the Classic Load Balancer to Application Load Balancer. For this, follow-along.
In the Classic load balancer window move to the tab of migration as shown below, you will be able to see a blue color button Launch ALB Migration Wizard. Hit this button to start your migration.
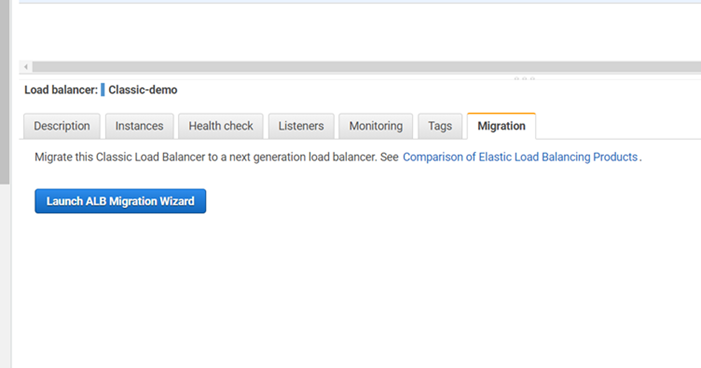
The wizard will complete the migration and your traffic will continue flowing but this time with a new URL.
Hope this will help you in your migration.
Also, read about Kubernetes architecture and How to spin up a Windows VM in Azure


